Showing posts with label DIY. Show all posts

2 August 2016

Getting my Craft on at the Viking Arty Party!


Recently Viking, the all powerful stationary company, invited me to a craft event, aka the Viking Arty Party. If you follow me over on instagram (lookie here) you'll see amongst the many photos of food, peonies and London, I also like to practice what some call 'modern' calligraphy. This basically means I can't do pretty traditional calligraphy letters so I ad lib (see unicorn cat, Albus Severus Potter and Riding Dirty as reference). So when Viking Stationery asked if I'd like to come to their crafty event where we'd be learning some traditional calligraphy (as well as block printing and mindful origami) I was super excited.

I was not super excited when on the day of the event my main manfriend, Dan, tried to help me get my stuff together and dropped my camera on the floor to which it semi-luckily fell lens side down, smashing the lens to pieces (insert thumbs up emoji here). On the plus side my camera body was fine, on the downside the most expensive and only short lens I own was not. This leads me on to my next tangent, never have I loved my mum more. Since I left home (a wee 8 years ago), my mum never ever comes to visit without giving us something, which is really thoughtful and normally always involves cheese (you can take the Swiss out of Switzerland...) which I obviously love. However, we live in a tiny one bed flat (standard London grade 1 style) with zero to zero storage space and often I have to say thanks mum for the 'make your own beer kit', 'humongus python skin' or 'bag full of beads and shells' (genuine gifts my mum has tried to give me...the python skin was my Great Grandads) but no thanks. Anyway luckily for me, my mum almost always 'forgets' to take the stuff with her, so it ends up in the cupboard of doom (the only storage we have in the flat) which is where I found the old film canon camera my mum gave me 3 years ago which had a detachable short lens. 

I'm pretty sure the lens hadn't been used since we left the Falklands and as such it really needs a good clean! However, for a last minute 'Oh my God you broke my camera' replacement lens it worked well enough, don't you think? Anyway rushing to the Viking Arty Party, I had 0 time to eat anything before I got there but was rewarded with tea, pastries and the prettiest space ever. Like if my flat is Grade 1 London, Lumiere London is a 10. The hallway is deceptive as it's slightly shabby entrance leads you up to a space which is opulently gorgeous (#housegoals). 
5 May 2016

Feeling Homey with Uncommon Goods


Something I haven't mentioned on this blog before is how me and my manfriend, Dan, are currently saving to buy a house/flat/shed/whatever we can afford in London (stop the front page). We've been together just shy of 8 years and I really want a place that is ours. As a bit of a DIY diva, for every flat we've rented I've dreamed about how we could improve it. This normally involves tearing down false walls, ripping up carpet and painting walls. Basically if you can't do it in a rented property, I want to do it. Unfortunately, I don't think our landlord would be too impressed if I went all DIY SOS (daytime tv anyone) on the flat. So we've made do and tried to make it our own while shaking off that university home style. You know what that is. Uni style is basically when you amass an array of mismatch items that just don't go together, pint glasses from your local appear in your cupboards (stop it guys you're breaking the 10 commandments) and things you find when you're drunk suddenly become wall art in your living room (aka the foam finger of this post, excuse the terrible photography, highway signs and magazine cuttings bluetacked to your wall). 

Recently we've been having a lot of dinner parties and having people round (if any potential future guests are thinking of bringing a gift to our next dinner party see here) so I've been conducting my usual spring clean, and throwing out all the old uni homeware and replacing it with a more adult, collected but still kooky (I sound like my mum) Scandinavia theme. It was about this time that Uncommon Goods, a Brooklyn based company that sells designer, handcrafted and unique homeware and gifts, contacted me and asked if I'd like to include some of their items in our flat update. Would I? That's rhetorical, of course I would. Dan has essentially banned me from buying anything house related (to which I have not listened to at all) under the guise of what if it doesn't go in the new house? What if we spend our whole lives saving for a house and we never get one or the new wardrobe we desperately need because our current one is falling apart, what if that happens?  Anyway back to the point, Dan said no to buying stuff but if I'm being sent it does that count? I quickly justified to myself that it was a no, and said sure thing to Tom from Uncommon Goods, keeping Dan fully in the dark till it arrived and I asked him to pick something up from the post office. 

The gig was up when he picked up the parcel covered with some cool branding for Uncommon Goods promoting their charity scheme (they've donated over $1 million to charities worldwide!) and saying it had travelled all the way from Brooklyn in the USA. Rumbled, I quickly unpackaged it to reveal a variety of homely items to which he replied 'only you would ask for glasses with cats on'. I disagree, I think there's a huge market out there for cat-themed goods and it's not just cat ladies it's guys do (although saying it's not just ladies have you seen this cat lipstick by Paul and Joe???? I'm in love). Uncommon Goods  sell more than just unique and hand-crafted products, they're selling goods that fundamentally are ecofriendly, and free from animal and human cruelty. In a world which is, unfortunately, still full of shops selling products created with pollution, slave labour and animal cruelty, I guess the question is why aren't you buying from Uncommon Goods. Essentially it's a way to feel good about shopping. Not only are you buying items you love, you've also helping to support charities that help sexual abuse survivors, provide victims of war with the means to provide for themselves and save the forests all in one purchase (how many people can say that!). 

20 August 2014

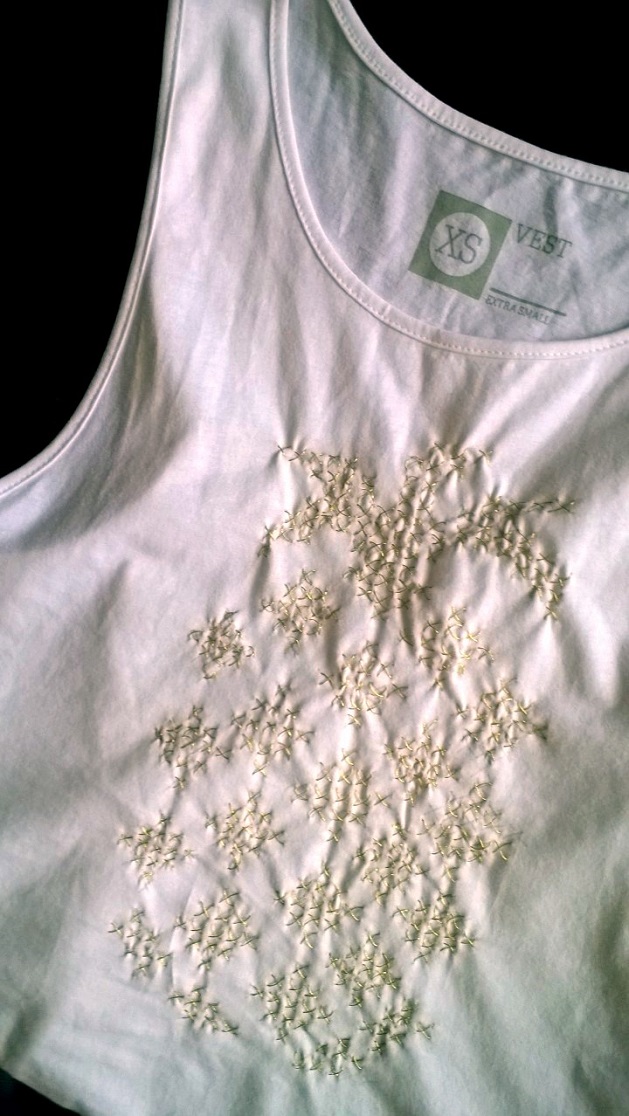
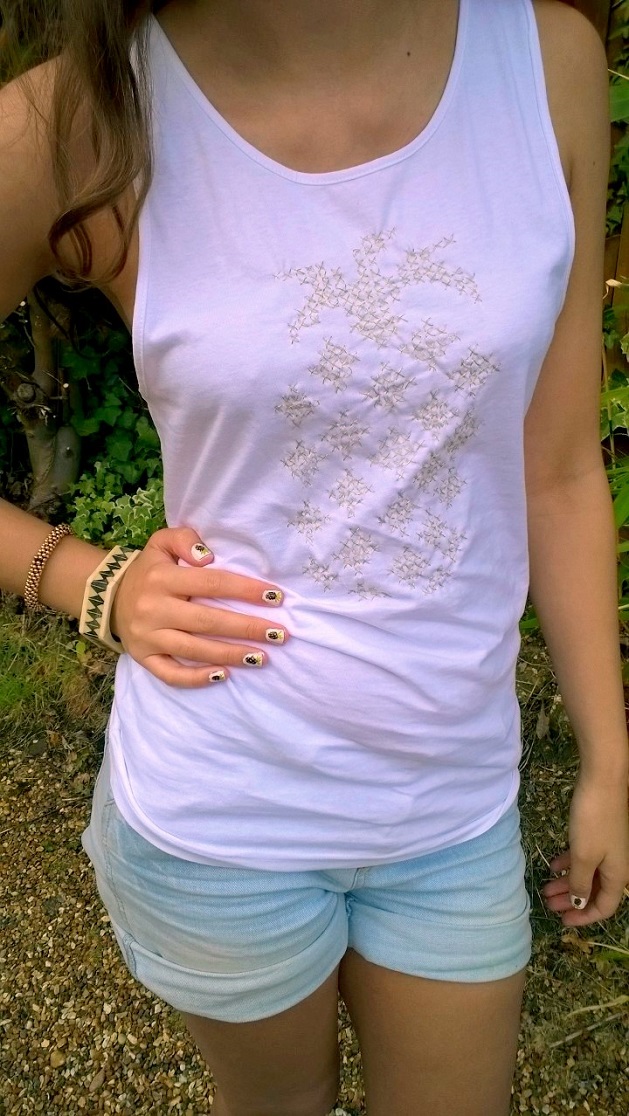
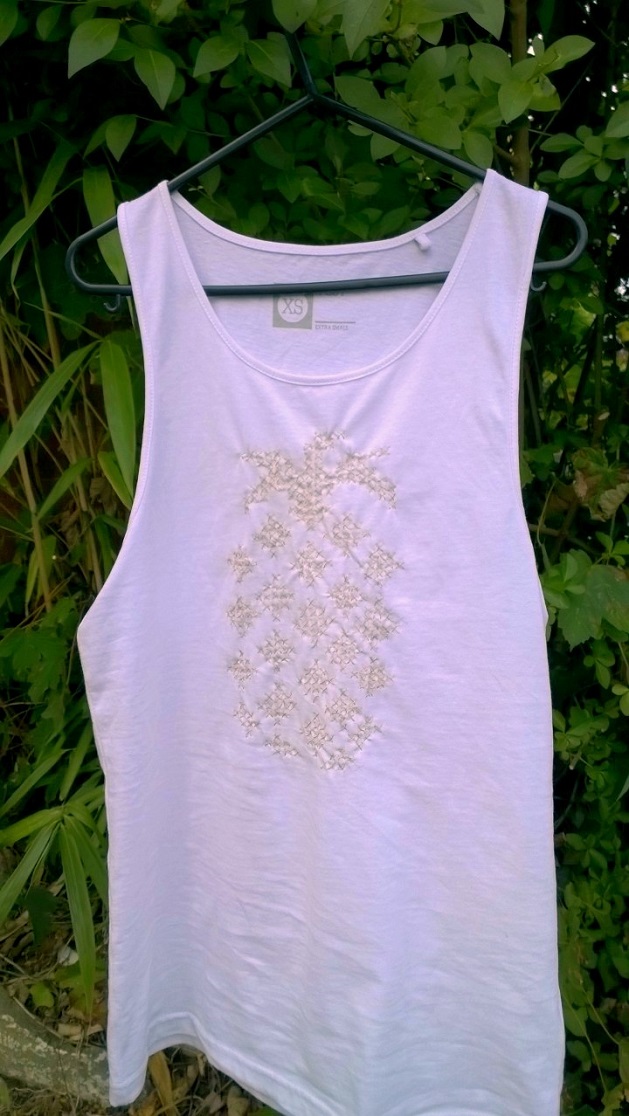
DIY Pineapple Cross Stitch Racerback T-shirt


I have been so excited about sharing this DIY with you. I won't lie, it's taken about 3-4 weeks of drawing out the pattern in the evening, sewing on the design and then finding the right time to pounce on Dan to take some photos of me in it (if you want to know this was during half time on Soccer Saturday) to bring this DIY to you. But it was 100% worth it!


Since seeing this pineapple t-shirt over on The Working Girl earlier this year, I've been needing a statement pineapple t-shirt in my life. And after shopping around, I just haven't been able to find one that I like, or I have and it's been out of my pineapple budget. But then I saw this pin, which I may have accidentally pinned onto my Cakes Galore board, and got so excited about cross stitching a pineapple that my other cross stitch project was demoted as I tried to copy the cross stitch and make my own pineapple pattern.


Can you tell I'm really proud of myself and this DIY? Does my pride sicken you a little? It kind of sickens me but I also don't really care because I made my dream pineapple t-shirt! And so can you!


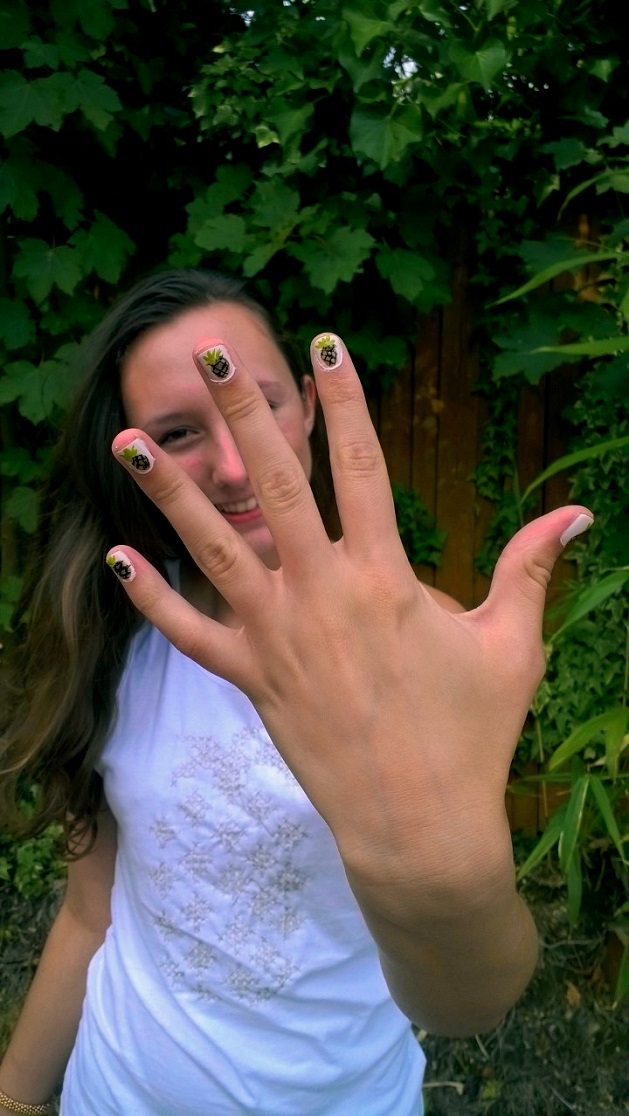
You might be thinking this girl is just too crazy about pineapples, and I'd like to tell you you're wrong. But then I painted my nails with pineapples so I can't.


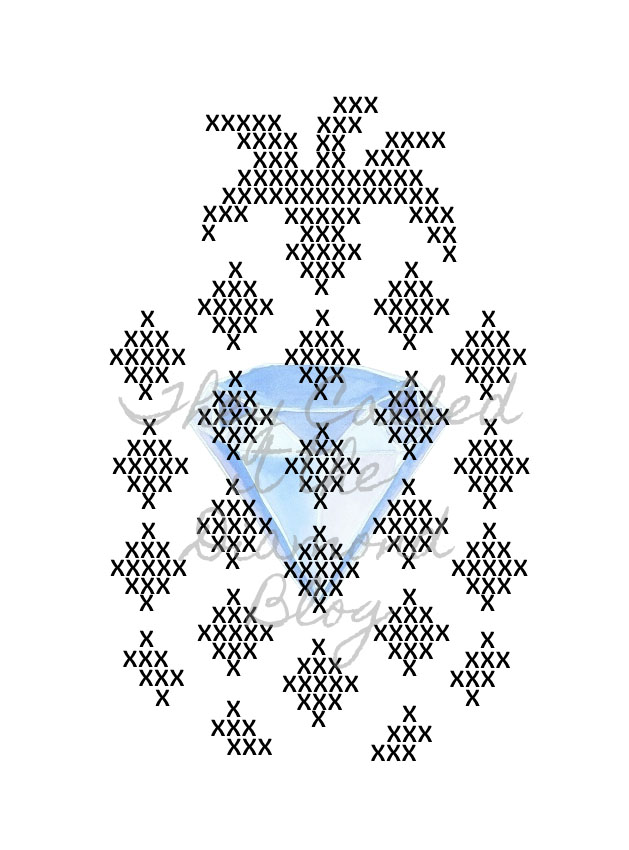
I drew this pineapple pattern straight onto the t-shirt but have made a pattern for future use as it is a lot easier copying it onto tracing paper than drawing it onto the t-shirt. Feel free to use my pattern to make your own pineapple cross stitch T-shirts or other creations. Options include, pineapple curtains, pineapple cushions, pineapple dresses, pineapple pineapples?! If you do use the pattern I'd appreciate it if you could link it back to me and send me an email/insta/tweet so I can check it out, but onwards to the DIY!
 
Pineapple Cross Stitch Racerback T-Shirt

Racerback T-shirt
Gold thread
Embroidery needle
Pencil
Pineapple pattern
Tracing paper
Sewing pins
Piece of cardboard as your shirt

Step 1. Print the pineapple pattern to the size you want and tape to the cardboard, then using the pencil trace the pattern onto the tracing paper.

Step 2. Once you've got your tracing paper pattern, pin it to the front of the t-shirt. Double or triple thread the gold thread through the needle, I used double thread and am happy with how it appears although if you want it to be more prominent you may need to triple thread it. Cross-stitch over the pattern, if you don't know how to cross stitch you can just criss cross sew over it OR take this as an opportunity to learn a new skill (I found this video tutorial to be really instructive!). 

Step 3. As Paul Hollywood said tonight on Great British Bake Off, 'Be patient'. I separated this out into 4 (it was a lot more than 4) sewing sessions to prevent too much sloppy stitching and bunching of the thread in my rushing to complete the task.

Step 4. Once you've finished sewing and the end is in sight, carefully tear off the tracing paper and remove the pins. The stitching on this t-shirt is delicate but it can be machine washed with care, my advice would be to wash it on the hand wash setting putting the t-shirt in a white pillowcase to prevent the strings catching on anything in the machine drum.

Step 5. Plan your pineapple outfit. Whether it be shorts and a trilby like me. Blazer and trousers. 

If you make this t-shirt or use the pattern, I'd love to see how you styled it via Instagram, Twitter or email!

17 June 2014

DIY Hand Painted Cork Trivets


 The majority of foods I like to eat tend to be made for sharing, I'm just that kind of sharing caring person. But I've found that if you're going to share food, it often means lots of dishes (although don't get me wrong I'm a huge believer in One Pan, Two Plates and less washing up!). And lots of dishes means me grabbing all the tea towels I have and shamefully sometimes oven gloves to rest hot dishes on to prevent my already scarred pine table from being scorched.


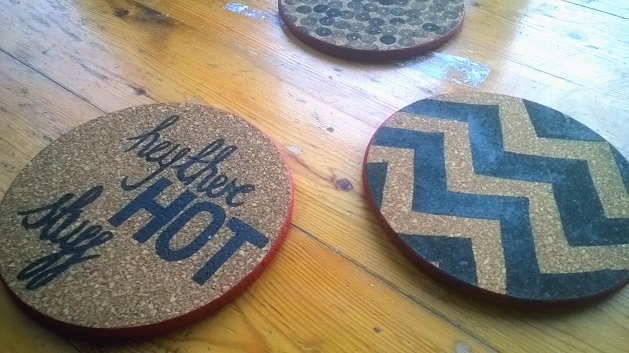
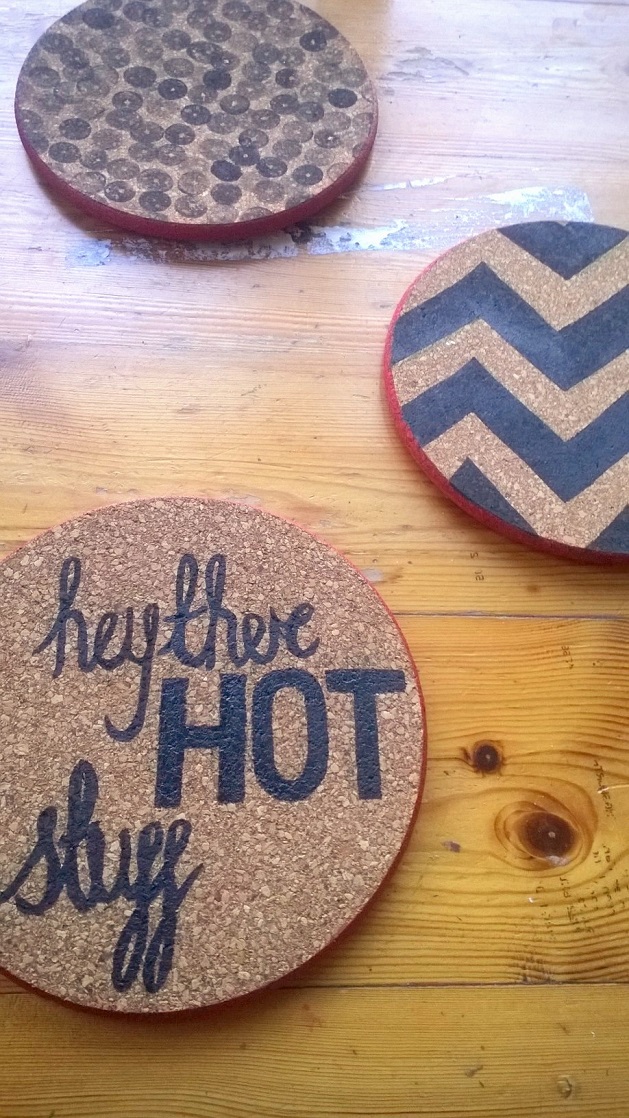
So I knew when I saw these cork trivets for next to nothing in Tiger I had to have them for the prevention of pine table trauma everywhere. Before taking on this global issue I started small, customizing my trivets with an all black and cork theme and bright red rim. This DIY is super easy and thinking about it after, it could be a really fun activity for you to do with little ones in the summer with them painting their own 'picture' with water-based non-toxic acrylic on the corkboard and using it there after at family meal times.


DIY Hand Painted Cork Trivets
Cork trivets
White chalk
Acrylic paint (I used black and red)
Paintbrushes (larger brushes to do areas like inside the chevrons and a thin brush for the edges and writing)
Water or white spirit (depending on whether you're using water based acrylic)
Polyurethane spray
Old newspapers

Step 1. Lightly sketch out your design in chalk on the cork boards, you can do this in pencil if you're feeling super confident but I used chalk because you can easily wipe it off afterwards with a piece of kitchen towel if you don't end up following the design when you paint it out. 

Step 2. Paint the design on to the cork trivet using your acrylic paint, depending on what type of acrylic paint you use will depend on whether you use water or white spirit to loosen the paint and clean your brushes. I used a water-based acrylic paint so went with water, I would use water-based acrylic if you're going to be making these with kids. Let it dry, if you decide to use a light colour paint you might want to do two or three coats so you get the colour you want, for example, I only used one coat of paint for the black on my trivet but two coats of paint for the red. You don't have to use paintbrushes to make your design either, I made the spotty trivet using a wine cork which I pressed down with varying amounts of paint to get different shaded spots.

Step 3. Let the face of the trivet completely dry before you paint the sides. Hold the trivet like a frisbee and paint around the edge to get the coloured rim pictured. You'll want to let it dry once you've gone all the way round and then flip it over and paint the edge again. Flipping it over mean you get to fill in all the parts you missed when holding it the other way. 

Step 4. Once the trivet is dry and you're happy with the design you'll want to seal it in. The polyurethane spray stops the paint from peeling off when you place something hot on it and the paint sticking to the underside of your pan. Without it, the paint is not heat proof and there may be many ruined dishes. You'll want to follow the spray's instructions for use. Mine was to do one coat at 30cm away spraying evenly over the design and rim and leaving it to dry for an hour before using it. Spray this outside to avoid getting varnish everywhere and ruining your furnishings. 

Step 5. After waiting the allotted amount of time cook a huge meal to share with your loved ones. I recommend bacon and sausage lentils with a huge salad! 
Happy Eating!

25 May 2014

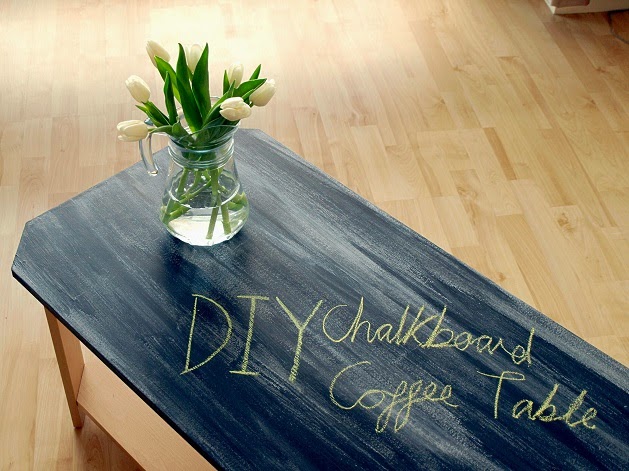
DIY Blackboard Coffee Table


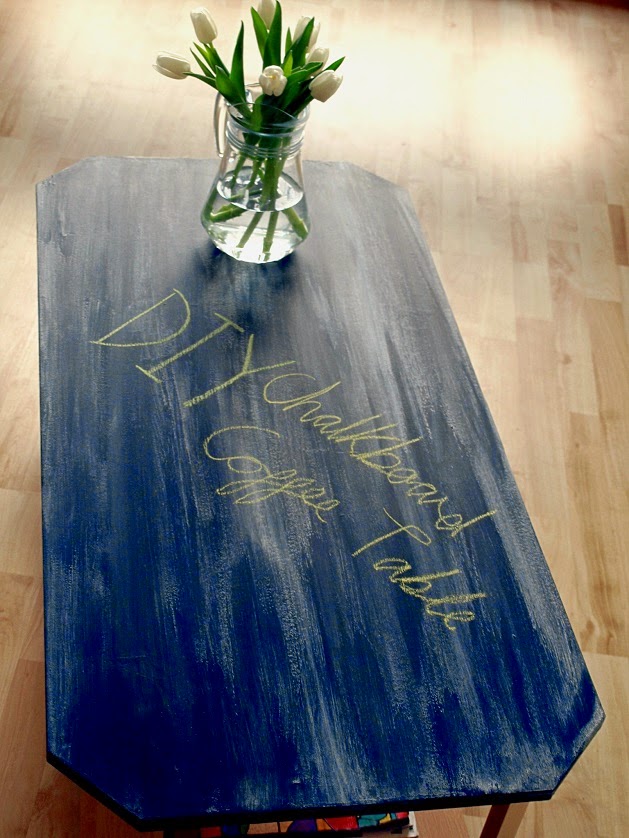
I've been meaning to post this DIY on here for ages (since before I went on holiday to Egypt, which was Sharmazing!) but so much has happened April quickly went and now it's almost the end of June. 
Before I share this super easy, and hours of endless fun and hangman DIY Blackboard Coffee Table, I feel it's only right to give an outline of why I have had no time to post it. Well, our holiday was amazing, we stayed in the Old Town in Sharm El Sheikh and this was my first all inclusive holiday. We snorkelled every day, highlights included turtles, lionfish and a huge grouper fish, I'm talking almost 2 metres! But the best part was definitely the day we hired a boat and went diving, which was when Dan's brother Tom proposed to his girlfriend of 5 years Sarah. It was incredibly romantic and it was just the perfect end to a lovely day. Having returned from our holiday, we had lots of family do's and have been busy preparing (going to the hen do and stag) for Dan's other brother Oli's wedding to Tally, his beautiful fiancée, which is now next Friday!! 

I wasn't lying when I said I had no time, so belatedly let me share this DIY with you. I've had a great time with this blackboard coffee table since coming home and you may have noticed the surface in some of my other DIYs. Although, as a warning your other half, friends or family may become frustrated with you drawing in chalk on this table if they have a tendency to put their feet up. 

As a last note about our holiday, although the people we met in Egypt were generally very friendly and really wanted to please us (not just those in the tourism industry), there is a revolution and you should be mindful of this if you choose to visit.


8 April 2014

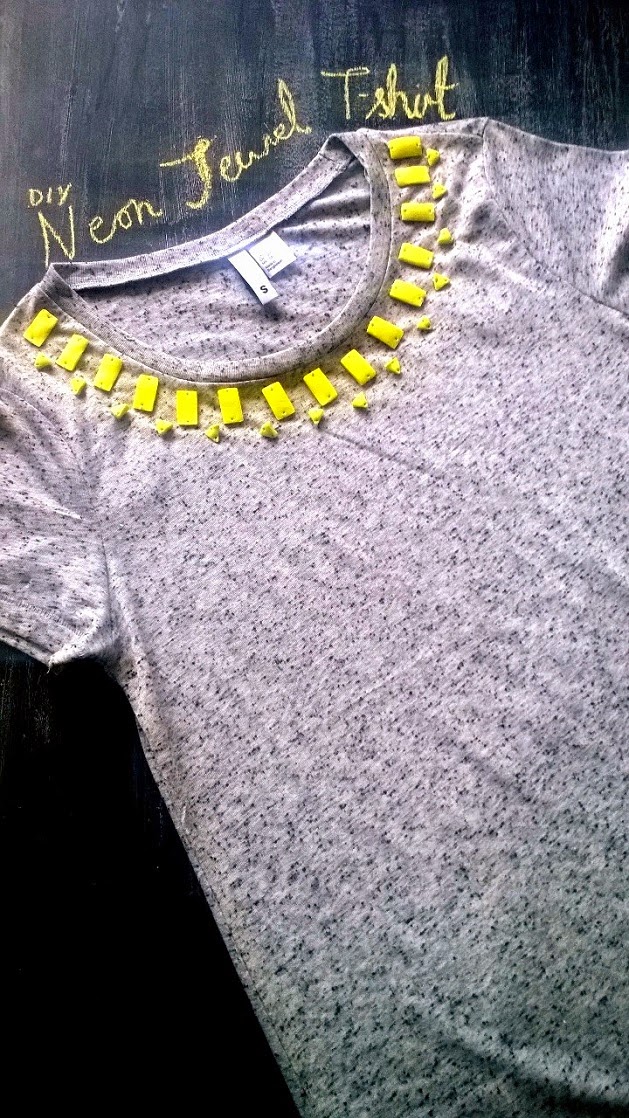
DIY Neon Jewel T-shirt

We're going on holiday tomorrow and I could not be more excited! This will be my first time going all inclusive at a hotel, normally we go for self-catering options and allocate a food budget so we can cook with the local ingredients available which is usually excellent. However, this time we're going on a real luxury holiday with friends and family to Egypt. 
Anyway I've been shopping for holiday clothes for the last couple of months to distract me from the winter blues. I wanted to get some neon resin jewels so I could customize a t-shirt but I couldn't find them anywhere! 

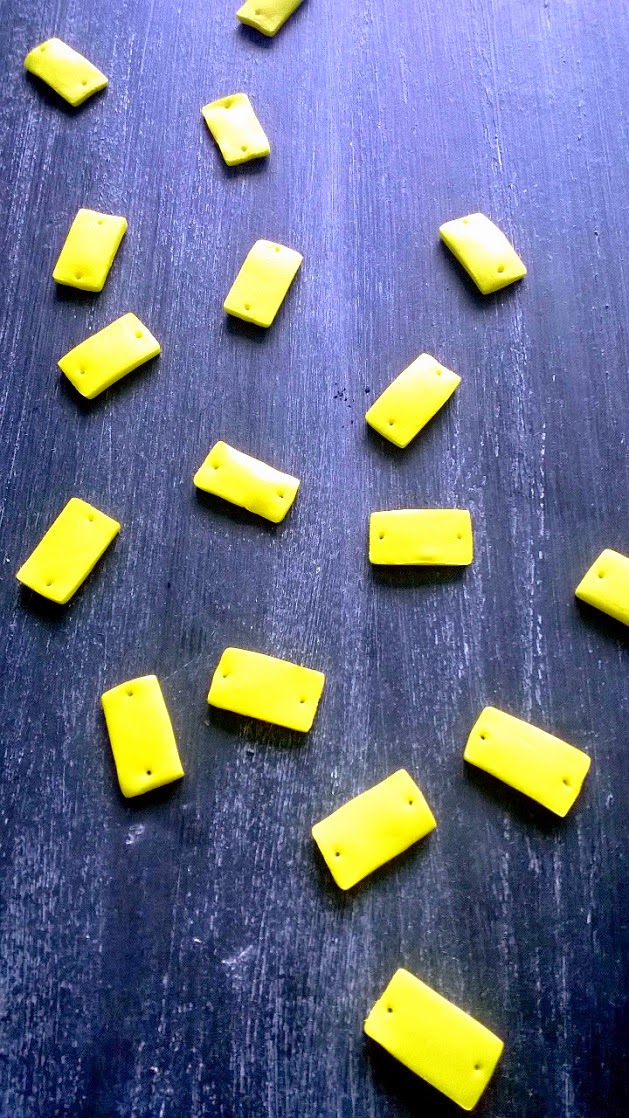
In the end I decided I was just going to have to make my own, and though I really wanted to make some resin jewels, we don't have a garden in our flat and the fumes can be quite toxic so at the minute that's out. So I decided to make some out of oven bake modelling clay. This material is really easy to work with and quick to make if you're a bit of an inpatient diyer. 

19 March 2014

Unsprung - Blackboard Decor


After having the best weekend ever, with seeing friends and family, and enjoying all the sunshine on offer, I can now confirm it's Spring. Which can only mean one thing, Summer's coming!

Now feeling thoroughly unsprung for spring and getting very excited for our holiday in 3 weeks with the family. I decided it was time for a change in decor to get us in the spirit of summer. As we are renting, it can be quite difficult to try and put our stamp on the place but we find ways to do it around drilling/painting/doing all the things you cannot do to a rental.

23 March 2013

Good thing I'm home

Last Saturday, me and my friend Louise, fellow infrequent blogger on ecofashion and fun, decided to meet up for coffee in central. I had, stupidly, forgotten the tube wasn't running on our northern part of the line but decided to brave the bus to Camden and go from there.

We were massively touristy; we walked across tower bridge, something I haven't done since moving to London, and saw a couple having their wedding photos taken (!), we walked round the Tower of London (note not inside, we're quite cheap) and then got in the glass elevator in the shopping center that overlooks St. Pauls and went right to the top to get a great view of the financial district of London, coincidently this is also where part of Made in Chelsea was filed with Caggie and the frenchman if anyone is interested.

 
Unintentionally, we ended up at Maltby Street Market just as it was winding down. I'd heard quite alot about this market, which is one small street in length with a couple of reclaimed car garages functioning as cafes, bakeries, a gin bar and what I can only describe as a speakeasy underneath the railway bridge. Oh! And it's also home to the St John Bakery Company, set up by John, winner of Great British Bake off; what's not to like. It was super cool, and although we didn't stay that long, enough for a coffee and an almond pastry for two, I'd definitely recommend it. Do believe the hype as it goes.

Then  it rained.

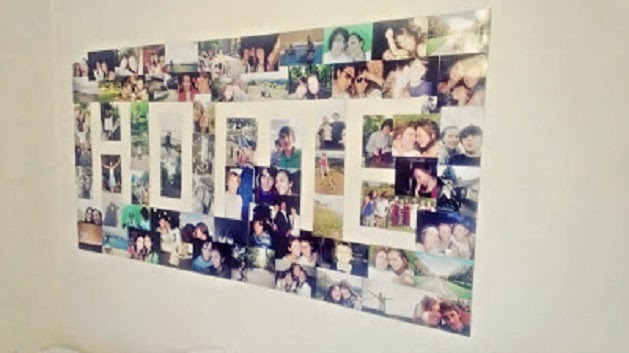
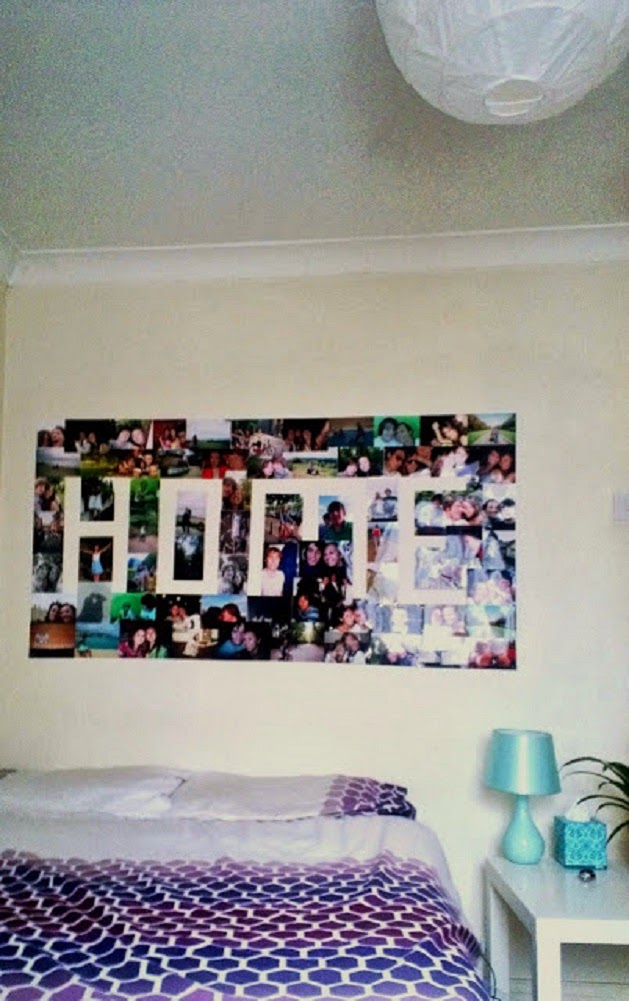
I hate rain, unless I have somewhere warm to run to after. But I had to get the tube and bus home, which were delayed. So by the time I got in I was the grumpiest grump, and was about to moan when Dan said he had a great idea for a headboard for our bed. I'm a sucker for headboards and this is a good one. We have tons of photos which I have no idea what to do with short of tiling our kitchen with them, but we decided to make our headboard out of all the best ones spelling out the word 'HOME' in blank space. It's really homely, forgive the pun but it's nice having all our family and friends watching over us when they're actually all over the place. Bit creepy? No, it's fantastic.


Oh home.